Customised AR15 - paint job!
Posted: Thu Nov 22, 2012 3:34 pm
As the result of a recent conversation with someone on here about a custom paint job for a new rifle I have on order, the topic of EC paint came up. This is a spray based paint used by the British Army and also available is a simply spray remover, to remove the paint if you change your mind! (Unlike Duracoat)
The following day as the result of another conversation I found myself in possession of 4 cans of EC paint! (3 colours and a remover) Sometime was spent doing research and then is was decided we would give this a go on my AR15. Now I am about as good with a paintbrush as I am with a football (I am Welsh!) but my Mrs is a dab hand and very creative.
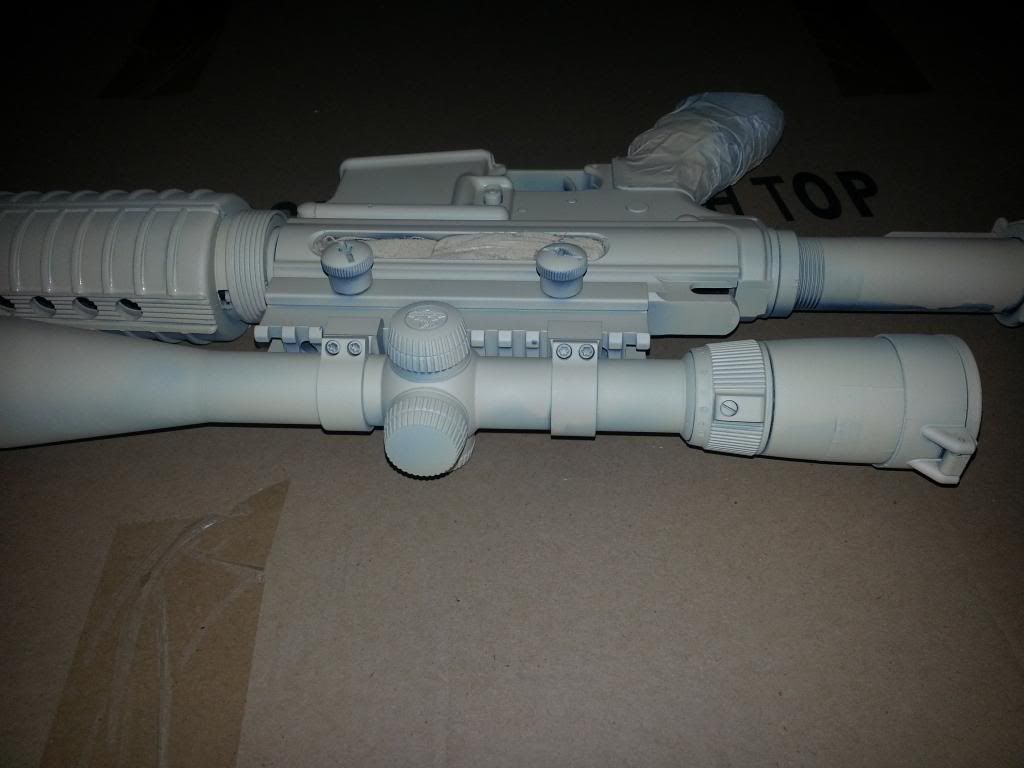
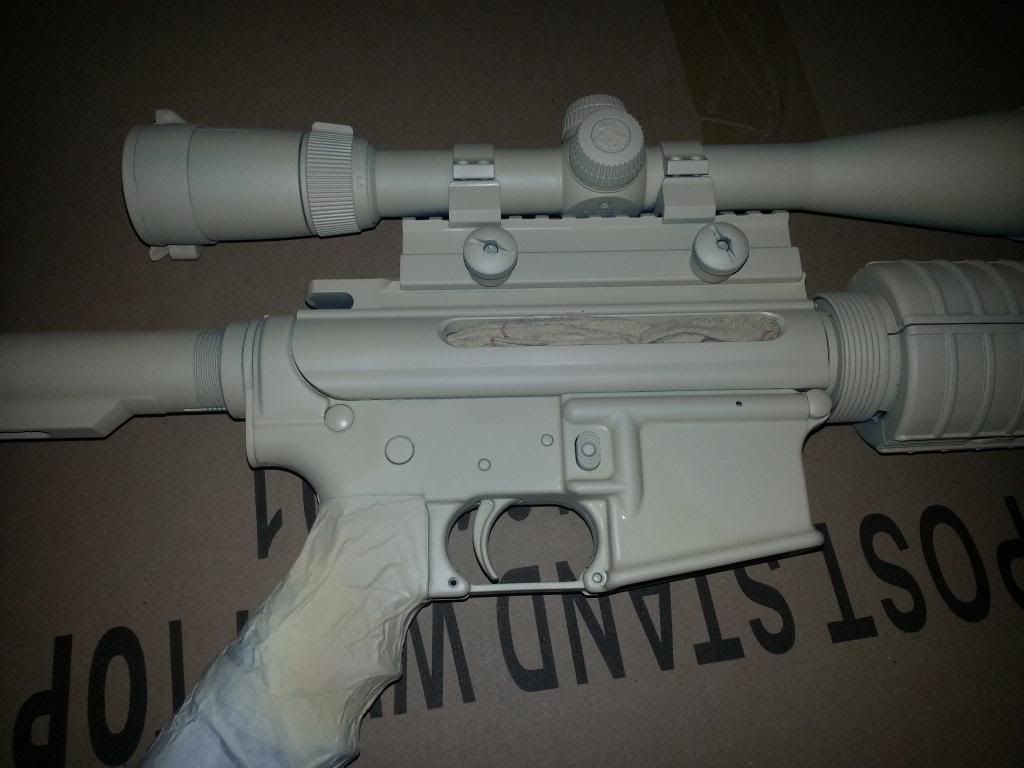
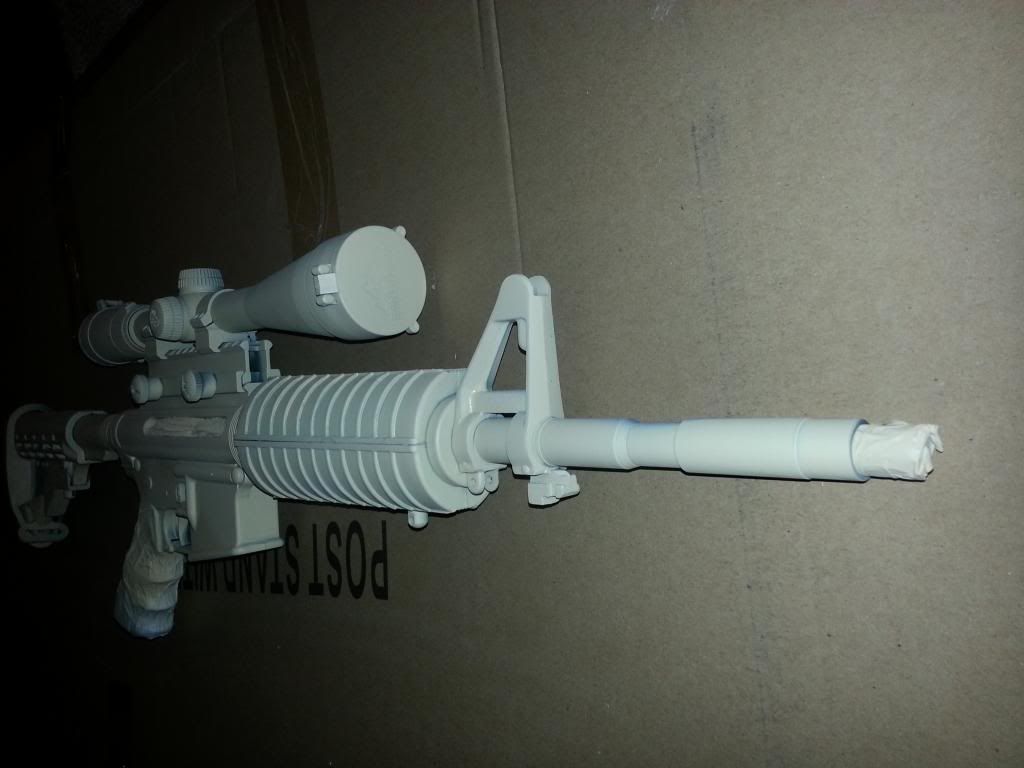
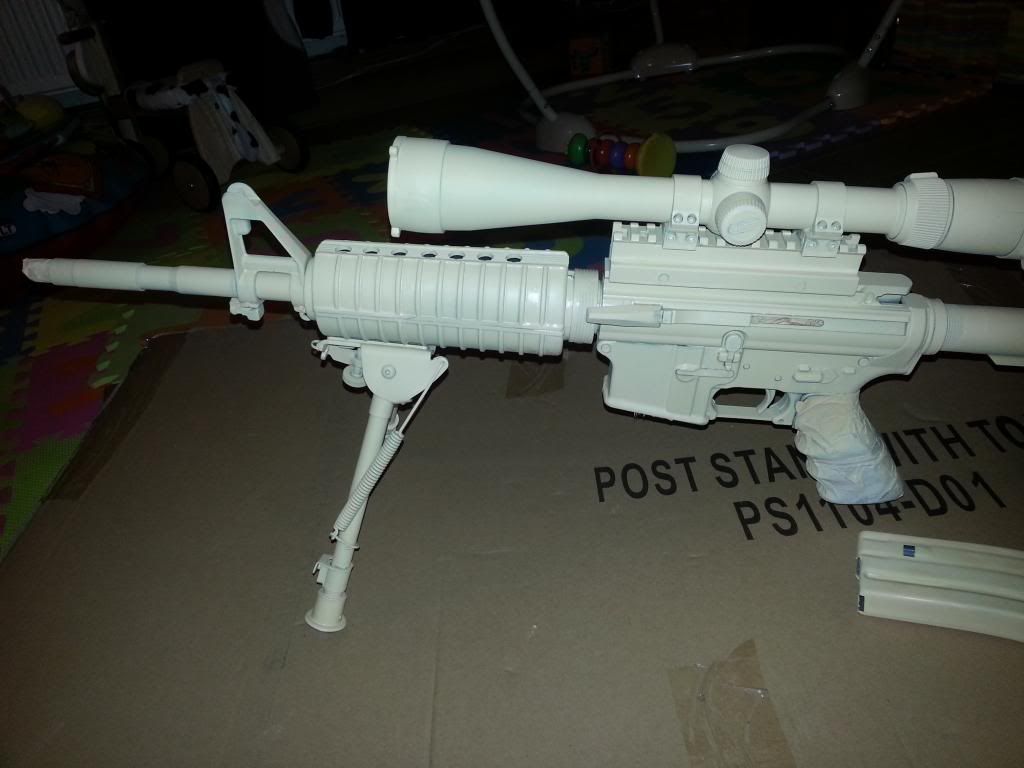
So, one AR15 totally stripped down and cleaned completely with Acetone to remove every trace of oil, grease, fingerprints or dirt. Reassembled (Using gloves) with the areas I did not want sprayed masked off (Receiver, pistol grip and the thread under the muzzle break) and the base layer applied (I held my breath as it went on!) - the base layer took 2 coats 12 hours apart. There was a small amount of minor sanding required between coats to remove a couple of small runs.
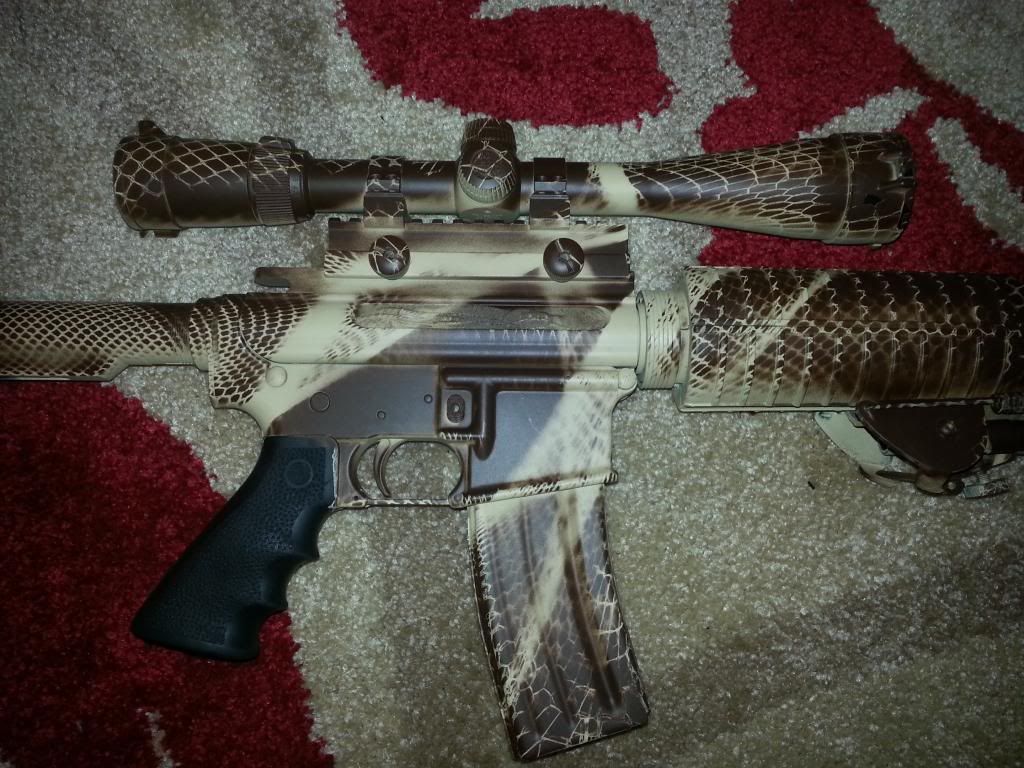
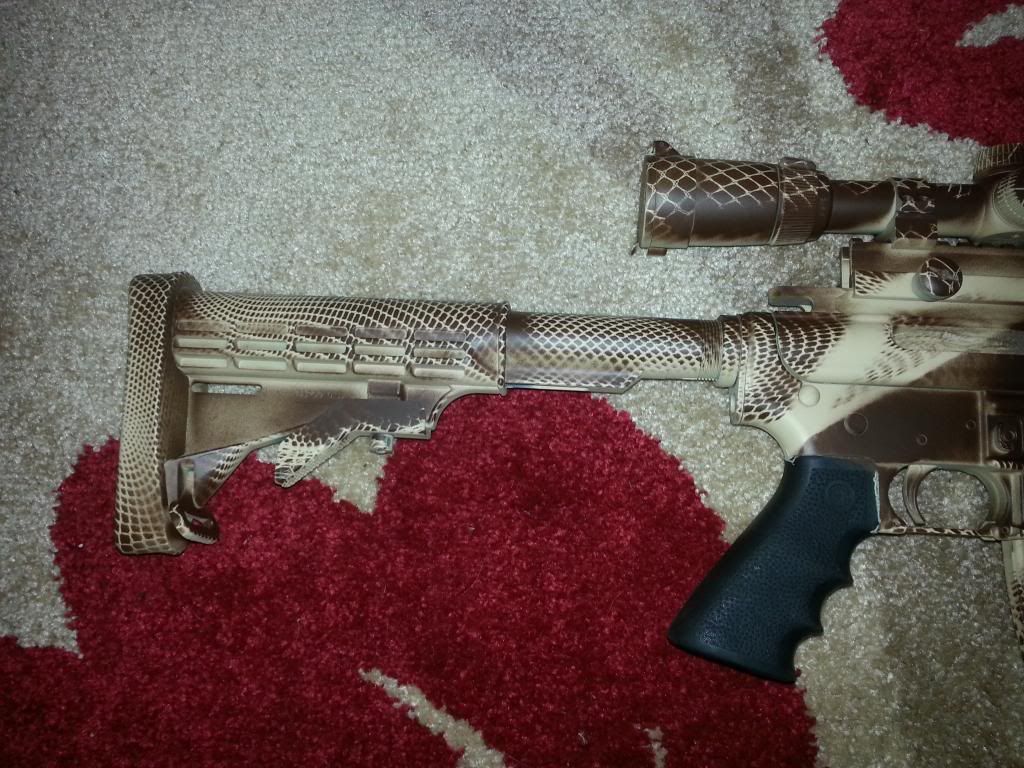
Once the base coat had dried on went the "cammo" coat - using a Dark earth brown (We had planned on using 2 colours, but we now feel it would not need a 3rd colour)
The stencil was created by the Mrs and it will ensure that each rifle we do (My Sig 522 is next) will be unique.
Here are a few photos of the process and the end result.


Mike
The following day as the result of another conversation I found myself in possession of 4 cans of EC paint! (3 colours and a remover) Sometime was spent doing research and then is was decided we would give this a go on my AR15. Now I am about as good with a paintbrush as I am with a football (I am Welsh!) but my Mrs is a dab hand and very creative.
So, one AR15 totally stripped down and cleaned completely with Acetone to remove every trace of oil, grease, fingerprints or dirt. Reassembled (Using gloves) with the areas I did not want sprayed masked off (Receiver, pistol grip and the thread under the muzzle break) and the base layer applied (I held my breath as it went on!) - the base layer took 2 coats 12 hours apart. There was a small amount of minor sanding required between coats to remove a couple of small runs.
Once the base coat had dried on went the "cammo" coat - using a Dark earth brown (We had planned on using 2 colours, but we now feel it would not need a 3rd colour)
The stencil was created by the Mrs and it will ensure that each rifle we do (My Sig 522 is next) will be unique.
Here are a few photos of the process and the end result.
Mike
